


.jpg?v=1725291804746&options=)
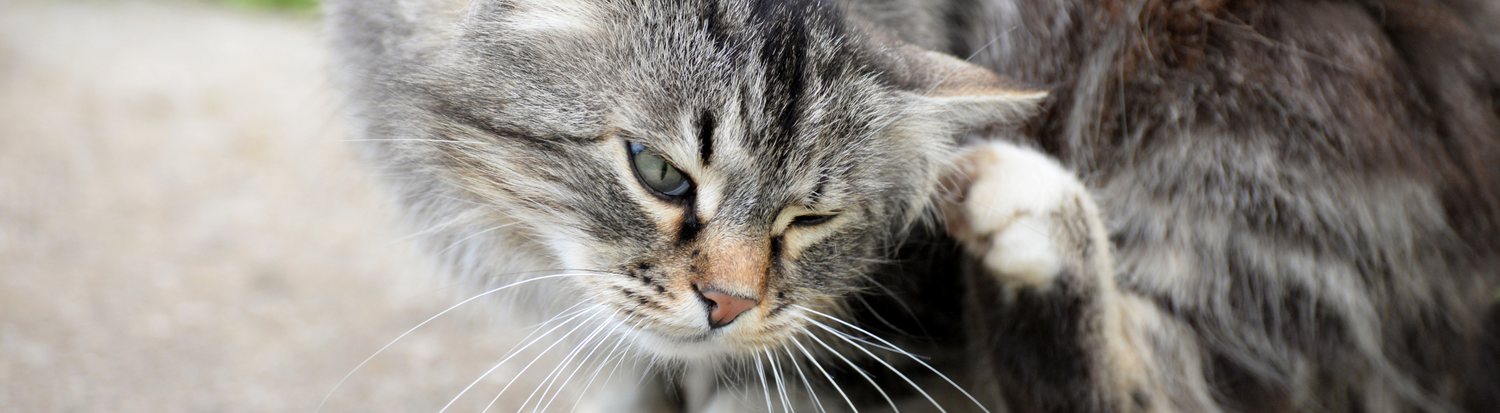
Dealing with a flea infestation in your home can be a daunting task. These tiny pests are not only a nuisance but can also cause significant discomfort for your cat and everyone in your household. If you've noticed cat fleas on your bed, furniture, or other areas of your home, it's essential to act quickly to eliminate them. In our guide, we'll explore how to get rid of cat fleas effectively and provide step-by-step instructions on how to reclaim your home from these pesky invaders.
Understanding the Flea Life Cycle
Before diving into the process of eliminating fleas, it's important to understand their life cycle. Fleas go through four stages: egg, larva, pupa, and adult. The adult fleas live on your cat, feeding on their blood and laying eggs. These eggs fall off into the environment, including your bed, carpets, and furniture. Once hatched, the larvae and pupae can remain dormant for weeks or even months until they find a host, such as your cat, to feed on. This life cycle makes fleas particularly challenging to eradicate, as you must address not only the adult fleas but also their eggs and larvae hidden throughout your home.
How to Get Rid of Cat Fleas: Step-by-Step Guide
1. Treat Your Cat First:
The first step in getting rid of cat fleas in your home is to treat your cat. Fleas typically originate from your pet, and without addressing the source, any efforts to clean your home will be in vain. Here’s how to treat your cat effectively:- Use a Flea Treatment: Choose a high-quality flea treatment for cats, such as a topical treatment, oral medication, or flea collar. Ensure that the product is appropriate for your cat's age, weight, and health status. Apply the treatment as directed, typically once a month, to kill any existing fleas and prevent new ones from latching on.
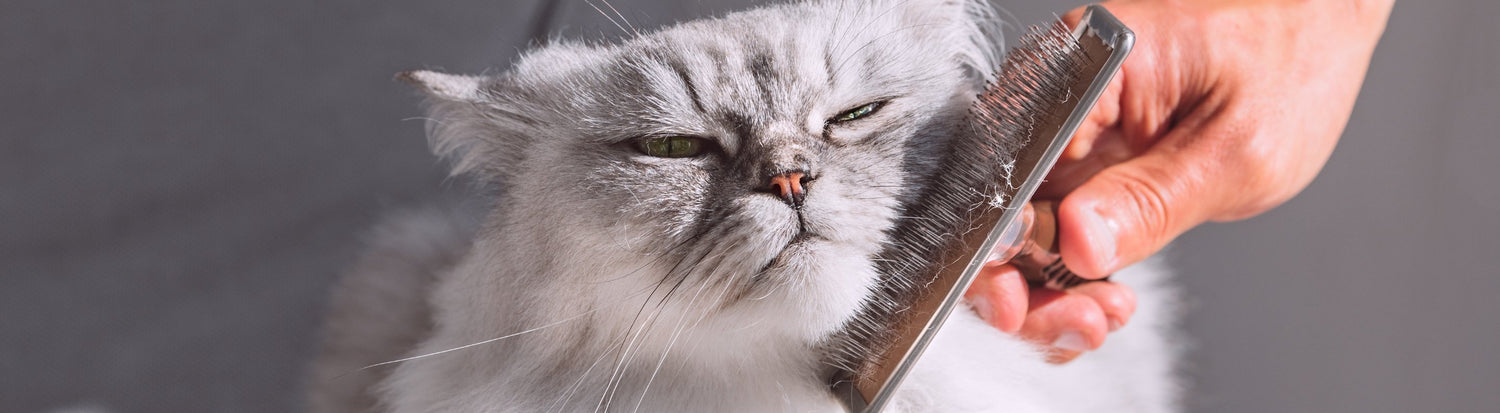
- Flea Comb: In addition to using a flea treatment, comb your cat daily with a fine-toothed flea comb to remove any adult fleas and flea dirt. This step helps reduce the flea population on your cat and provides some immediate relief.
- Bathing: If your cat tolerates it, consider giving them a bath with a flea shampoo specifically designed for cats. This can help remove fleas and soothe irritated skin.
2. Clean and Vacuum Your Home Thoroughly:
Once your cat is treated, the next step is to tackle your home environment. Flea eggs, larvae, and pupae can be hiding in your carpets, furniture, and bedding, so it's crucial to clean these areas thoroughly.- Vacuum Regularly: Vacuuming is one of the most effective ways to remove fleas at all stages of their life cycle. Vacuum all carpets, rugs, upholstered furniture, and any other areas where your cat spends time. Pay special attention to cracks and crevices where fleas might hide. Be sure to empty the vacuum bag or canister immediately after each use, sealing the contents in a plastic bag and disposing of it outside your home to prevent fleas from re-infesting.
- Wash Bedding and Fabrics: Wash your cat’s bedding, as well as any blankets, pillows, and other fabric items your cat frequently uses, in hot water. High temperatures will kill fleas and their eggs. Dry these items on the highest heat setting to ensure any remaining fleas are eliminated.
- Steam Cleaning: Consider using a steam cleaner on your carpets and upholstery. The heat from steam cleaning can kill fleas at all life stages, including eggs and larvae, which are often more resistant to other forms of cleaning.
3. Treat Your Home with Flea Control Products:
In addition to cleaning, applying flea control products in your home can help eliminate any remaining fleas and prevent future infestations.- Flea Sprays: Use a flea spray designed for home use on carpets, furniture, and other areas where fleas may be present. Look for sprays that contain insect growth regulators (IGRs), which prevent flea eggs from hatching and larvae from developing into adult fleas. Be sure to follow the product’s instructions carefully, and keep pets and children away from treated areas until they are dry.
- Flea Foggers: Flea foggers, or flea bombs, can be used to treat an entire room. These products release a fine mist of insecticide that penetrates hard-to-reach areas, killing fleas on contact. However, they require you to vacate the room or house during the treatment and for a few hours afterward. It’s important to read and follow all safety instructions when using flea foggers.
4. Prevent Future Infestations:
Once you’ve successfully removed the fleas from your home, it’s important to take steps to prevent them from returning.- Regular Flea Treatment for Your Cat: Continue to treat your cat with a flea prevention product regularly, even after the fleas are gone. This will help protect your cat from re-infestation and keep your home flea-free.
- Maintain a Clean Environment: Keep your home clean by vacuuming regularly, washing bedding, and maintaining good hygiene practices. This will help reduce the likelihood of fleas taking hold again.
- Outdoor Control: If your cat goes outdoors, consider treating your yard with a flea control product. Fleas can live in grassy, shaded areas, so keep your lawn trimmed and remove any debris where fleas might thrive.
5. Monitor for Recurrence:
After treating your home, continue to monitor your cat and living environment for any signs of fleas. It can take several weeks to completely eliminate a flea infestation, so be vigilant and ready to re-treat if necessary. If you notice any signs of fleas returning, act quickly to address the issue before it becomes a full-blown infestation again.

Dealing with Cat Fleas on Bed: Special Considerations
Finding cat fleas on your bed can be particularly distressing, as this is where you curl up to get comfortable and sleep. To address this issue specifically:
- Strip and Wash Bedding: Immediately strip your bed and wash all linens, blankets, and pillows in hot water. Dry them on the highest heat setting. Fleas cannot survive the high temperatures of washing and drying.
- Vacuum the Mattress: Use a vacuum to thoroughly clean your mattress and box spring, paying attention to seams and crevices where fleas might hide. Consider using a mattress cover to create a barrier against any future flea infestations.
- Treat Your Bed Area: If needed, apply a flea spray to your mattress and surrounding area, making sure the product is safe for use on bedding. Allow it to dry completely before making your bed again.
Removing cat fleas from your home requires a comprehensive approach that addresses both your pet and the environment. By treating your cat with effective flea control products, thoroughly cleaning your home, and taking steps to prevent future infestations, you can eliminate these pesky pests and keep your home flea-free.
Here at Lords & Labradors, we offer a range of premium flea treatments and home care products designed to help you tackle flea infestations with confidence, and ensure your home remains a safe and comfortable haven for you and your feline friend.