


.jpg?v=1727270629781&options=)
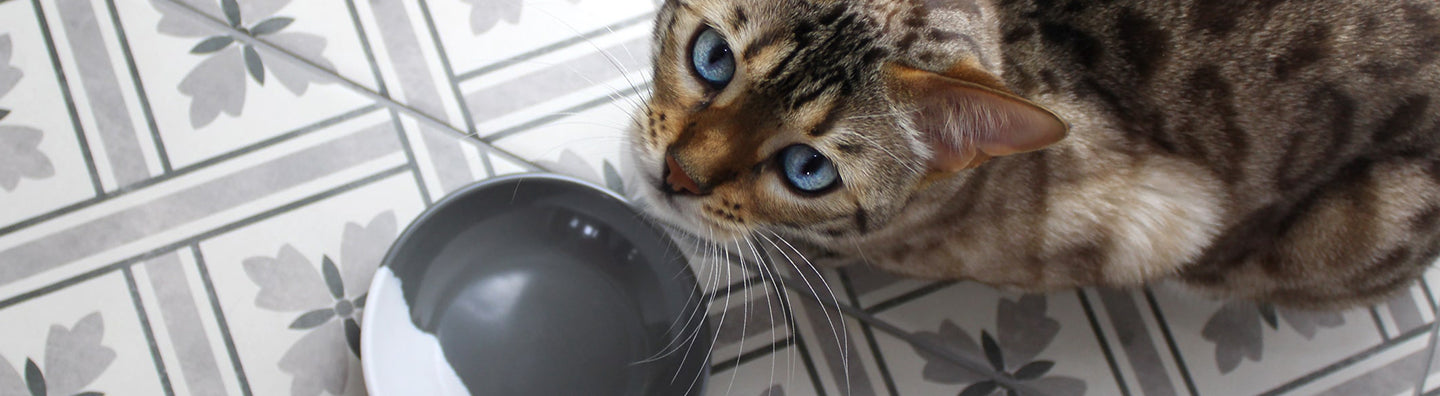
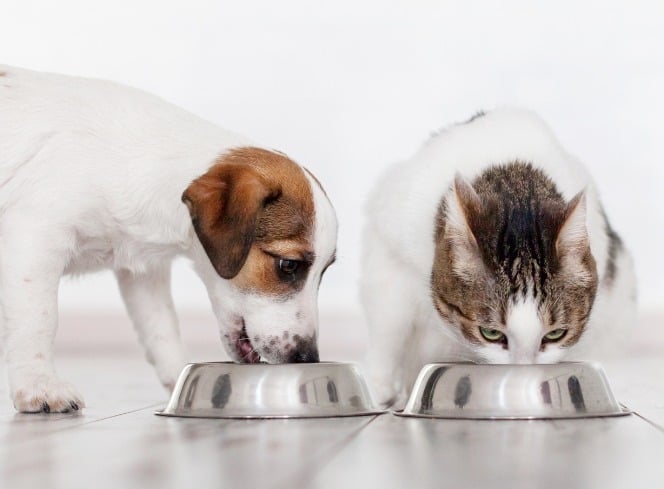
Proper hydration is essential for the overall health and well-being of your feline companion. Dehydration in cats can lead to serious health issues if not promptly addressed. As responsible pet owners, understanding the signs of dehydration in cats and knowing how to prevent it is crucial. In this comprehensive guide, we'll delve into the symptoms of feline dehydration and provide expert tips on keeping your cat adequately hydrated.
Understanding Dehydration in Cats
What is Dehydration?
Dehydration occurs when there's an excessive loss of body fluids, primarily water and electrolytes. For cats, even mild dehydration can have significant impacts due to their unique physiology.
Why Are Cats Prone to Dehydration?
Cats are descendants of desert-dwelling ancestors and have a low thirst drive. They often don't drink water as readily as other animals, relying instead on the moisture content in their food. This natural trait can sometimes lead to insufficient water intake, making them susceptible to dehydration.
Causes of Dehydration in Cats
Several factors can contribute to dehydration in cats:
- Inadequate Water Intake: Cats may not drink enough water, especially if they're on a dry food diet.
- Illness: Conditions like kidney disease, diabetes, or hyperthyroidism can increase water loss.
- Vomiting and Diarrhoea: Frequent vomiting or diarrhoea can quickly deplete a cat's fluids.
- Heat Exposure: High temperatures can cause excessive panting and fluid loss.
Signs and Symptoms of Dehydration in Cats

Recognising the signs of dehydration in cats is vital for timely intervention. Here are common feline dehydration symptoms to watch for:
- Lethargy and Weakness - A dehydrated cat may appear unusually tired, with reduced energy levels and reluctance to engage in regular activities.
- Dry Mouth and Gums - Check your cat's gums; they should be pink and moist. Dry or tacky gums are a classic sign that a cat is dehydrated.
- Loss of Appetite - Dehydration can cause a decrease in appetite. If your cat suddenly shows disinterest in food, it might be a symptom of dehydration.
- Sunken Eyes - Sunken or dull-looking eyes are a concerning sign of dehydration in cats and indicate a more severe fluid loss.
- Decreased Skin Elasticity - Perform the skin tent test: Gently pull up the skin between your cat's shoulder blades. In a well-hydrated cat, the skin should snap back quickly. Slow recoil is a sign of a dehydrated cat.
- Elevated Heart Rate - An increased heart rate can be a response to dehydration. If you suspect this, consult your veterinarian promptly.
- Panting - While panting is less common in cats, it can occur when they're overheated or dehydrated.
Preventing Dehydration in Cats
Prevention is the best approach when it comes to dehydration. Here are expert tips to ensure your cat stays well-hydrated:
1. Provide Fresh Water Always
Ensure that clean, fresh water is available at all times. Change the water daily and clean the bowl to prevent bacterial growth.

2. Use Multiple Water Stations
Place water bowls in various locations around your home to encourage drinking.
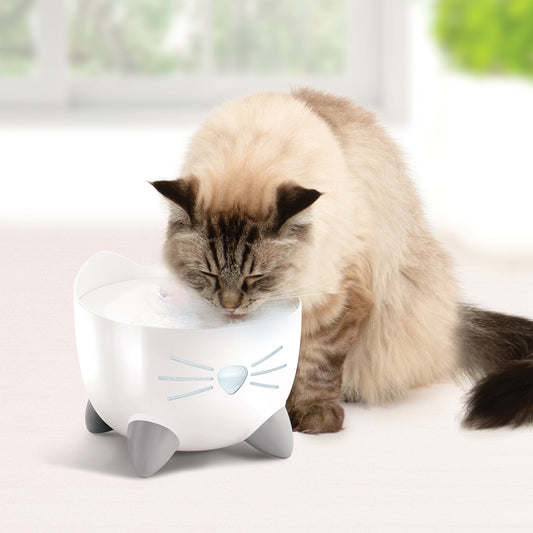
3. Consider a Cat Water Fountain
Many cats are attracted to running water. A pet water fountain can entice them to drink more. We love the Catit Pixi Fountain, it comes in a choice of four colours and has a LED nightlight to guide cats even in darkness. It’s a perfect source for water for your cats 24/7.
4. Wet Food Diet
Incorporate high-quality wet food into your cat's diet. Wet food has a higher moisture content, aiding hydration.
5. Flavoured Water
Adding a bit of tuna juice or low-sodium chicken broth to the water can make it more appealing.
6. Monitor Health Regularly
Regular veterinary check-ups can help detect underlying conditions that may contribute to dehydration.
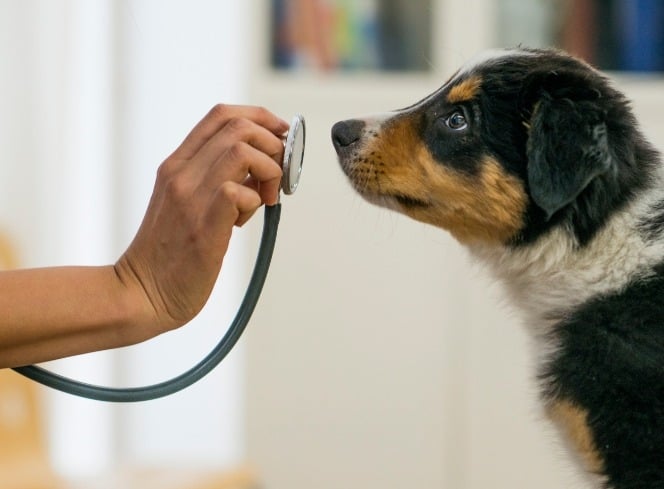
When to See a Vet
If you notice any signs and symptoms of dehydration in cats, or if your cat is refusing to drink water, seek vet care immediately. Severe dehydration is a medical emergency and may require fluid therapy.
Conclusion
Dehydration in cats is a serious concern but can be effectively managed with awareness and proactive care. By recognising the dehydration symptoms in cats and implementing preventive measures, you can ensure your feline friend stays healthy and hydrated.
At Lords & Labradors, we understand the importance of your pet's well-being. Explore our range of hydration solutions, including water fountains and nutritious wet foods, to keep your cat happy and healthy.
Remember: When in doubt about your cat's hydration status, it's always best to consult your veterinarian. Your attentiveness can make all the difference in your cat's health.


![[color:blue speckle]](http://www.lordsandlabradors.co.uk/cdn/shop/products/desert-wash-speckle-cat-saucer-blue.jpg?v=1639390807&width=533)