


Summer Survival Guide For Pets
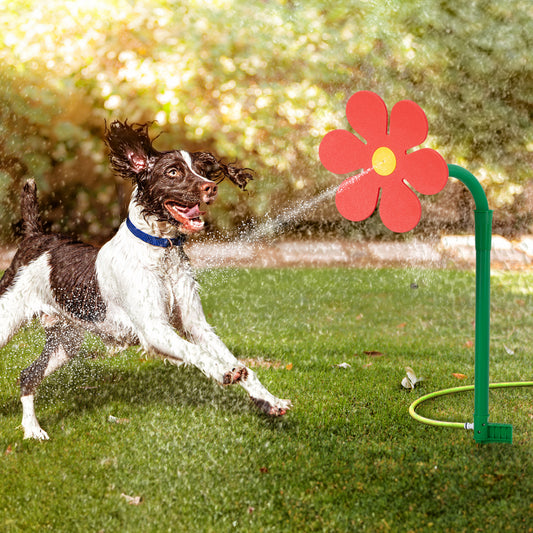
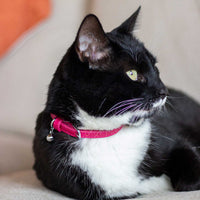
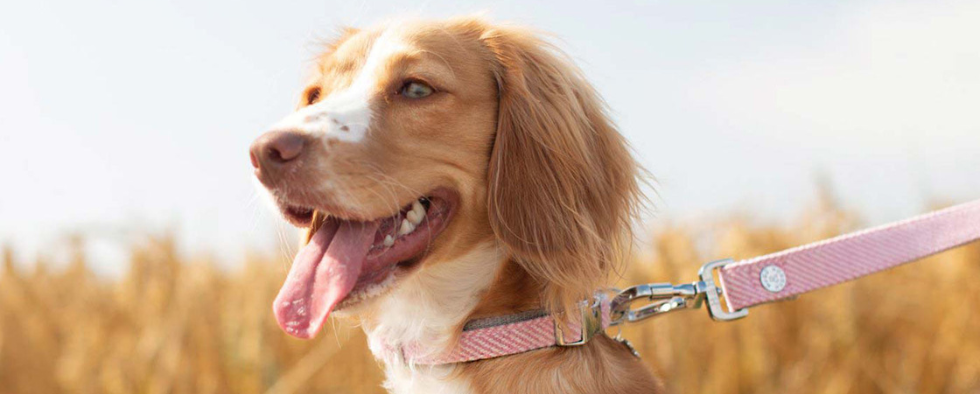
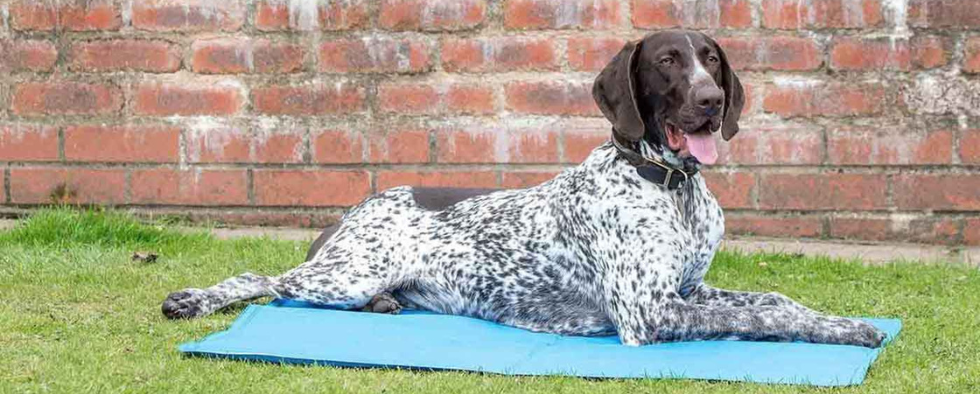
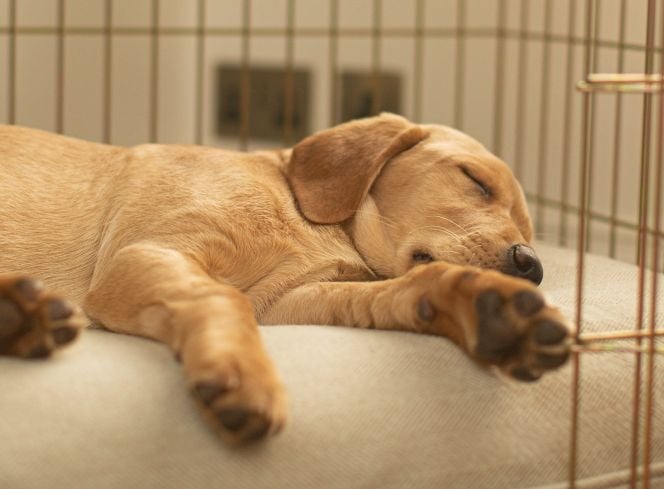
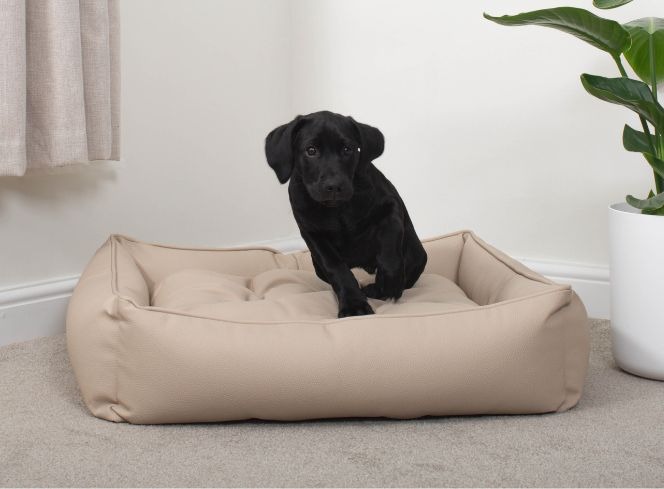
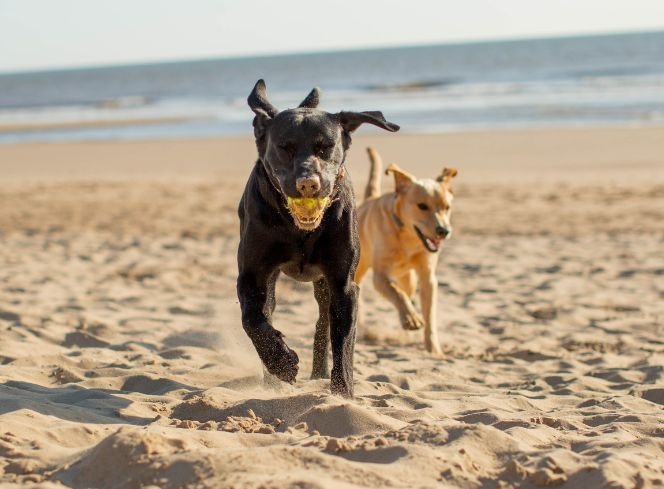
Summer is wonderful in so many ways. The warmer, drier weather and longer daylight hours means we can get out and about much more. Day trips and holidays are much more appealing when the chance of fine weather is increased. It’s also the season when the landscape is full of life and gardens brim with colour and bird song. Summer can also pose a few challenges for pet owners though. Keeping our pets cool and safe is our number one priority at this time of year. Here we list a few things you need to consider when looking after your dogs and cats in Summer. Go For Dog Walks Early in the Morning or Later in the Evening We mentioned the potential for nice weather in the Summer, and this can sometimes become extreme with incredibly high temperatures. When the mercury rises, we need to do our best to keep our pets cool and comfortable. Dog walks can pose a major hazard on the hottest days. Not only can sun exposure cause sunburn, but dogs can suffer from heat stroke and hot pavements can burn delicate paws. It is best to walk your dog when the sun is low in the sky, so either early in the morning or later on in the evening. Check the feel of the paths with your hand - if it’s too hot for you to touch comfortably then it’s also too hot for your pup. [product] Keep walks to a gentle pace and make them shorter than usual if necessary. You could also consider popping a cooling vest or bandana on your pup to help keep them cool too. It's a good idea to have a cooling mat or bed on hand for your dog to lay on once you get home too! Provide Indoor Activities With dog walks likely to be shorter than usual, we’d suggest providing some indoor activities for your pup to keep their minds occupied. It doesn't have to be anything too strenuous, but some interactive toys such as puzzles or hiding games. This will give them something to focus their energy on and stop boredom from setting in. Take plenty of refreshments on outings It’s important to make sure your cats and dogs have access to plenty of fresh water throughout the day to help keep them cool and hydrated. If you’re going on an outing with your dog, make sure to take refreshments with you. There are a number of travel cups and bowl options with various sizes available. The brilliant range of travel bags by Mobile Dog Gear come with handy travel dining sets, so that you can pack food and water all in one bag. They have sets suitable for day trips through to large weekender bags that are great for overnight stays. Never Leave your pet in the car This may seem obvious, but it’s really important to highlight, nonetheless. Cars will become very hot, very quickly, in hot weather. Leaving a window open simply isn’t enough to keep the car cool enough for your pet to sit in, even for a short time. Whenever you get out of the car you must take your dog with you or you will risk them overheating and becoming severely unwell. Make Sure Your Garden is Pet Safe You may spend a lot of your spare time in the garden during the summer months so making sure it's safe for your dogs and cats is important. Ensure the garden is enclosed and that your pets can’t escape. You should also ensure that there are plenty of shaded areas for them to retreat to as well as bowls of fresh water. [product] You could provide them with some water toys. A paddling pool or water fountain will give them opportunities for playing and keeping cool too. Adopt a Summer Grooming Regime Depending on your pet’s breed, you may decide to give them a summer cut. You need to be sure that it will benefit them before you make the decision though. Cats and dogs have developed their coats over generations to keep them warm in winter and cool in Summer. Generally speaking, they shouldn’t need a Summer cut to keep them cool. Double coated breeds should never be clipped as having a thicker coat actually keeps them cooler and helps them avoid sunburn. Single coated breeds such as Poodles do have a coat suitable for clipping though. If you’re unsure whether you can clip your dog or not, consult your vet or a professional dog groomer for advice. Don’t forget sunscreen for your pets Many pets will benefit from the protection that sunscreen provides. White haired cats and dogs can burn quite easily due to the skin underneath the fur being white. Use pet safe sunscreen and apply to the bridge of the nose, underbelly and armpits. Cats also tend to have thinner hair on the ears and the spot between the eye and ear. Sunscreen should never be applied to the eyelids or nose, but it can be applied to any other areas that may be at risk. Just make sure to choose a pet safe cream. Your cat or dog is likely to lick the cream off after application, so you need to ensure the product is safe. Most human creams won't be suitable, so it’s best to find a pet-specific cream such as the Playful Pup cream by HOWND. Repel those pesky bugs! We mentioned the abundance of life in the Summer, but this also means an influx of insects which can be a real nuisance to both us and our pets. They don’t just cause us to itch if they crawl on us but can also bite. There are a number of insect repellent products available to help keep them away. You could try an insect repelling shampoo or grooming product such as the TropiClean Flea & Tick Shampoo or the Animology Flea & Tick formula. Relax, Relax, Relax! The best advice we can give to make it through the Summer is to take it easy and make the most of it! We all know what it feels like when we’re hot and bothered; it can make us irritable and lethargic. Our pets are much the same and will appreciate a more laid-back approach to their routine. Keep exercise relaxed and offer more gentle forms of stimulation. The Summer is best enjoyed when you’re sat back and chilled out, and I think our pets would most certainly agree!


.jpg?v=1698672952691&options=)

.jpg?v=1690547063208&options=)