


How Often Should You Bathe a Dog?
One of the most common queries among dog owners is how frequently they should bathe their furry pals. The answer varies depending on several factors, such as your dog's breed, coat type, and lifestyle. In general, most dogs benefit from a bath every 4-6 weeks. However, certain breeds with specific coat types may require more frequent bathing, while others may need it less often. Our pet experts have written an in-depth guide on how often you should groom your breed of dog which is definitely worth checking out.

Can I Bathe My Dog Once a Week?
While regular bathing is important for maintaining cleanliness, it's generally not recommended to bathe your dog more than once a week. Frequent bathing can strip their coat of natural oils, leading to dry skin and irritation. However, certain situations, such as skin allergies or medical conditions, may require more frequent bathing depending on your vet’s advice.
What Do I Need To Bath My Dog At Home?
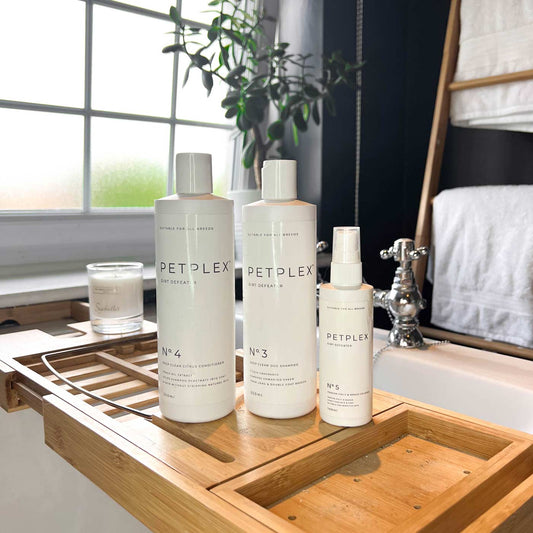
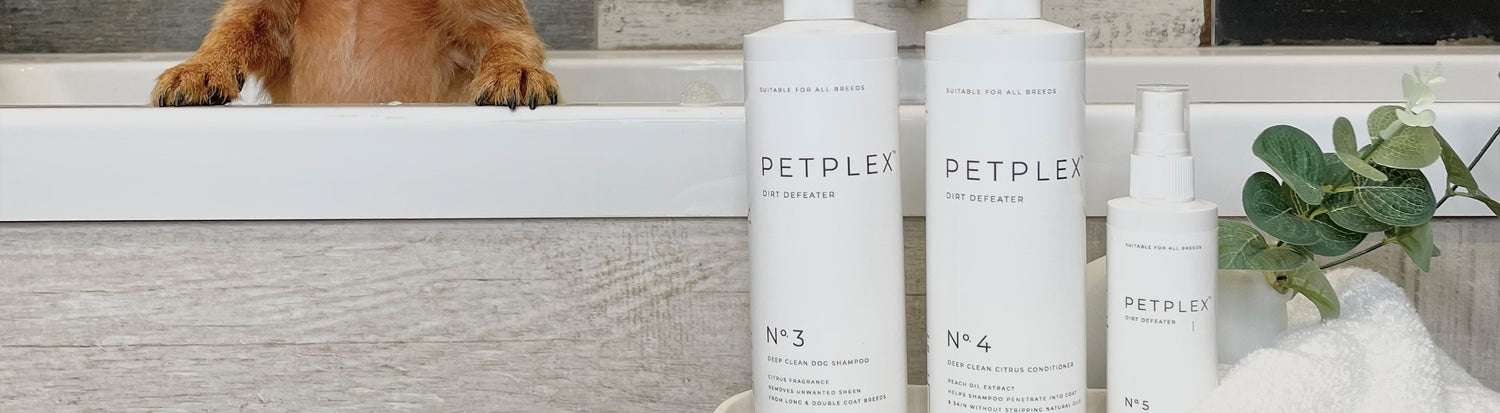
- Dog Specific Shampoo - We recommend PetPlex, they have shampoos suitable for different coat types, ages and skin conditions so there’s sure to be something for your dog.
- Dog Specific Conditioner - pamper your pooch with a conditioner, this will help keep their coat looking shiny and silky.
- Detangling Spray - A Detangling Spray is good for curly haired or long haired dogs before their bath to help remove any knots or matts, this will help make the bathing process as easy as possible
- A Brush or Comb - there are lots of different types of brushes and the best one for your dog will depend on their coat type. Explore our range of brushes to find the best one for your furry friend.
- Drying Coat, mitts or towel - You’ll have a soggy doggy after a bath and having something you can dry your dog off with will come in handy. An old towel works or our favourite-fuss free way to dry your dog off is with a drying coat. They simply slip on over your dog’s head and fasten under their belly. Alternatively our drying mats are one size fits all and making drying your dog quick and easy
-
Treats or a licki mat - you want your dog to associate bath time as a fun positive experience and a rewards based training method is our favourite way to do this. Having plenty of treats to hand and praising your dog throughout the process will help them form positive associations with the process.
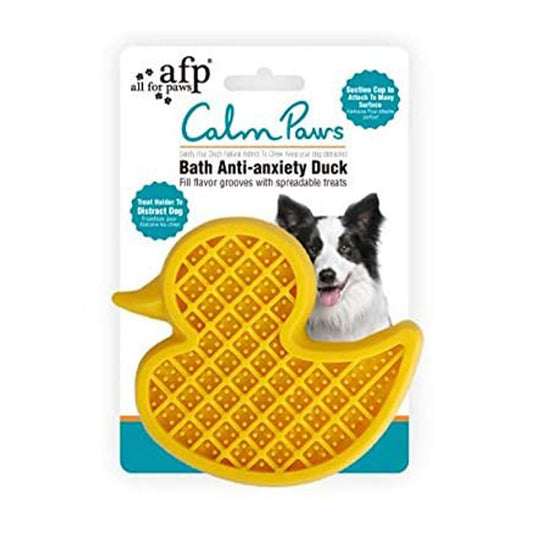
The anti-anxiety bath ducks are great for distracting nervous dogs, they stick to the wall and you can put wet food or peanut butter on there for your dog to lick off whilst you bathe them. Licking is actually anxiety reducing for dogs as it releases calming hormones so is perfect for nervous dogs.
If you do have a nervous pup on your hands why not check out our blog on how to desensitise your dog to grooming, it has our pet experts top tips and tricks on how to make grooming your dog a calmer experience for you both.
How To Bathe A Dog At Home:
Now that you know the ideal frequency and the essentials you’ll need, let's dive into the step-by-step process of how to bathe your dog:
-
Gather Your Supplies:
Have all the items we listed above to hand, making sure they’re in reaching distance will make bath time easier for you and your dog
-
Prep the Bathing Area:
Choose a suitable location for the bath, preferably a bathtub or a large wet room. You can place a non-slip mat at the bottom to provide your dog with a secure footing, this is a good idea if your dog doesn’t love bath time and likes to move around.
-
Brush Your Dog:
We recommend brushing your dog's coat thoroughly before bathing them to remove any loose fur or tangles, especially if they have a long or curly hair coat. This will prevent matting and will mean it’s easier to make sure your dog’s coat is fully clean.
-
Test The Temperature
You’ll want the water to be lukewarm, not too hot or cold. You can either run a bath or use the shower to wash your dog, whichever works best for you and your dog.
-
Rinse Your Dog’s Coat
Work from the neck down with either a jug of water or the shower head to pour water over your dog’s coat. You’ll want to make sure their coat is nice and wet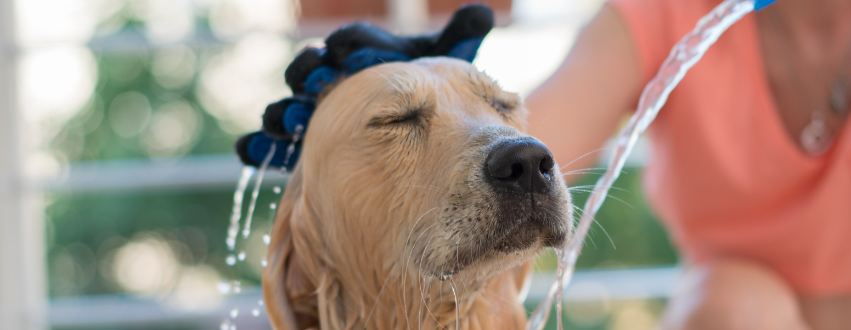
-
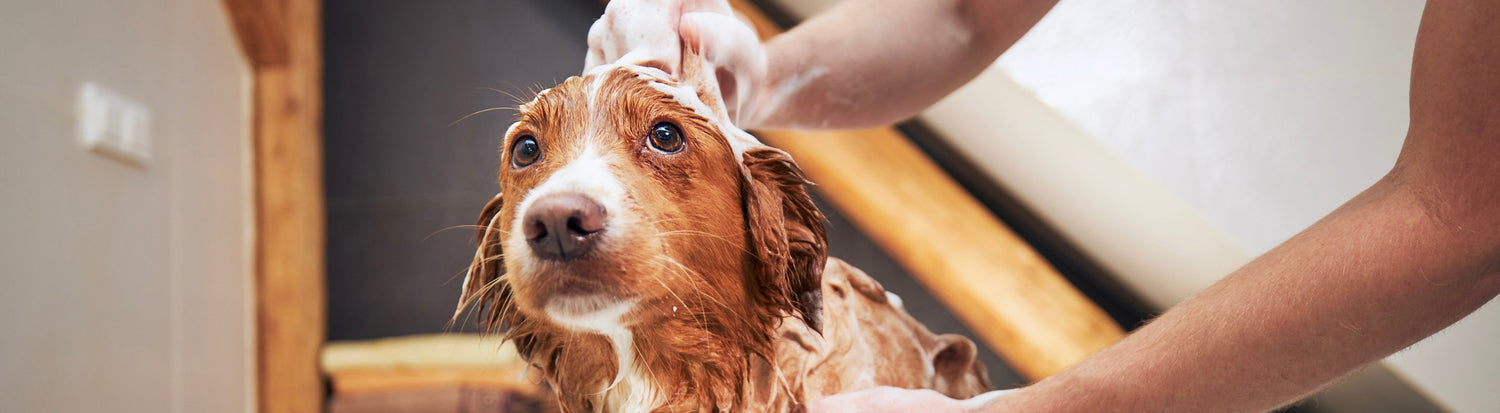
Shampooing Your Dog
You’ll want to either put a small amount of shampoo in your hand and massage it into your dog’s coat making sure it lathers up, or you can use a shampoo brush like this Rosewood brush, which allows you to put shampoo in the top and dispenses it as you brush your dog’s coat. Be careful of their eyes and ears and focus on their body and paws. Once you’ve shampooed your dog’s body you’ll want to rinse them off with lukewarm water to remove the suds, making sure no product remains in their coat.
-
Conditioning Your Dog
Once you’ve shampooed your dog, you’ll want to apply a conditioner. This will help keep their coats shiny by adding moisture back in after shampooing them. Massage into your dog’s coat and then leave for a couple of minutes before rinsing
-
Wash Your Dog’s Face
Whilst your conditioner is soaking into your dog’s coat it’s a good time to wash their face. We recommend using a cloth or a flannel with some clean water to wipe their face clean, you want to avoid getting any shampoo in their eyes or ears.
-
How To Dry A Dog After The Bath:
After rinsing, use a large towel, drying mitts or a drying coat to gently dry your dog's coat. If your dog is comfortable with a blow dryer on a low heat setting, you can use it to speed up the drying process. Make sure to keep it at a safe distance from their skin. Gradually dry their coat, keeping the dryer moving to avoid overheating any particular area.
-
Brushing Your Dog
Once your dog's coat is mostly dry, use a brush or comb appropriate for their coat type to remove any remaining tangles or mats.
-
Reward Your Pup
After bath time make sure to give your pup plenty of fuss and reward them for being a good boy or girl during bath time.
Our Pet Experts Tips To A Successful Bathing Experience:
To make bath time enjoyable for both you and your furry friend, our pet experts have put together their top tips:
- Introduce Bathing Gradually: If your dog is not accustomed to baths, introduce the process gradually. Start by getting them comfortable with water by offering treats or toys near the bath area. Gradually progress to wetting their paws, then their entire body. This is a great thing to do with them right from the get-go as a puppy as it helps to desensitise them from a young age
- Positive Reinforcement: Use positive reinforcement throughout the bathing process. Reward your dog with treats, praise, and gentle strokes to make them associate bath time with positive experiences.
- Ear Care: During bathing, be cautious not to let water enter your dog's ears, as it can cause infection. Use cotton balls to plug their ears or consider using a specialised ear cleaning solution after the bath to keep their ears clean and dry.
- Nail Trimming: Bath time can also be an opportunity to trim your dog's nails if needed. However, if you're unsure or uncomfortable doing so, it's best to consult a professional groomer or veterinarian. We’ve got a handy guide on cutting your dog’s claws.
- Double Shampoo: Our pet experts recommend shampooing your dog twice, as long as they don’t have sensitive skin. This will help make sure they’re squeaky clean
-
Drying Your Dog: Avoid rubbing your dog when towel or mitt drying them, this could cause matts or tangles in their coat. Instead gently pat them dry.

Bathing your dog is an important part of their overall hygiene routine. By following the tips and guidelines provided in this guide, you can ensure a pleasant and effective bathing experience for your furry companion. Remember to consider your dog's breed, coat type, and lifestyle when determining the ideal bathing frequency. With patience, positive reinforcement, and proper care, bath time can become a bonding experience that leaves your dog feeling clean, healthy, and happy.