


Fleas can be a pesky problem for dog owners, causing discomfort and irritation to our beloved furry companions. Not only can these tiny pests cause itching and skin problems for dogs, but they can also infest our homes. As a responsible pet owner, it's crucial to know how to deal with fleas effectively. In this comprehensive guide, we'll explore various methods to get rid of fleas on your dog, including natural remedies. So, let's dive in!
What do dog fleas look like?
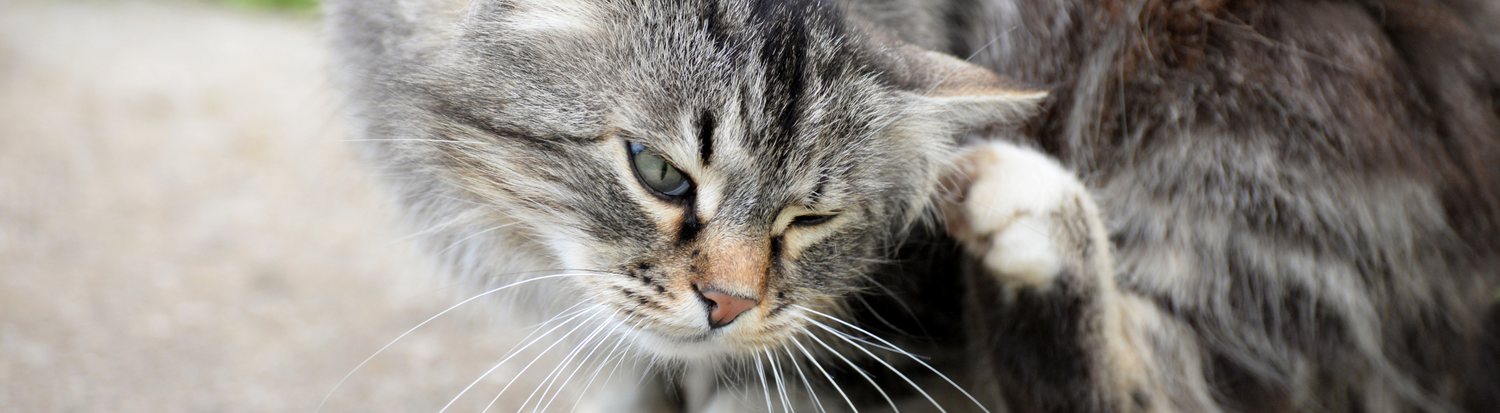
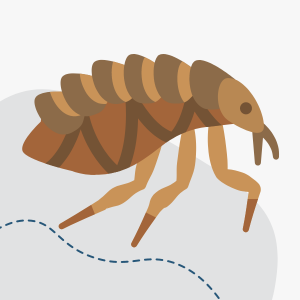
Before we jump into the eradication process, let's identify our tiny adversaries. Dog fleas are small, reddish-brown insects, about 1-4 millimetres long. They have flat bodies that enable them to move easily through your dog's fur. These pests are notorious for their incredible jumping abilities, allowing them to leap from one host to another with ease.
How do dogs get fleas?
Dogs can pick up fleas from various sources. The most common way is through contact with other infested animals, such as stray dogs or cats. Fleas can also reside in grassy areas, and your dog may pick them up while playing outdoors. Additionally, fleas can hitch a ride into your home on your clothing or other pets.
Can dog fleas live on humans?
While dog fleas prefer to feed on dogs, they can still bite humans if they can't find their preferred host. However, dog fleas cannot live on humans permanently, as they require dog blood to reproduce. If you notice fleas on your dog, it's essential to take swift action to prevent an infestation in your home. There are around 2000 different types of fleas, with only one of them being able to live on humans it’s very rare that you will encounter a flea that can live on humans.
What kills fleas on dogs instantly?
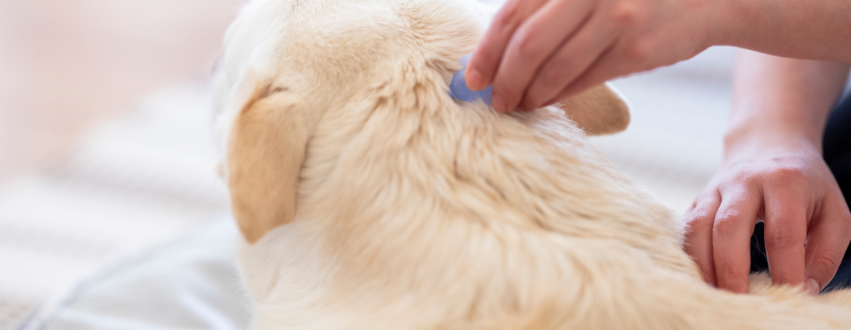
When dealing with a flea infestation, pet owners often seek quick solutions to provide relief for their furry friends. One of the fastest ways to kill fleas on dogs is by using a veterinarian-approved flea treatment. These treatments typically come in the form of spot-on treatments, oral medications, or shampoos that effectively eliminate fleas at various life stages.
How often should you flea a dog?
The frequency of flea treatment depends on the severity of the infestation and the product you are using. For most spot-on treatments and oral medications, it's best to follow the manufacturer's instructions. Some treatments offer protection for up to a month, while others may need to be applied more frequently. Here at L&L we offer several spot on treatments for fleas, ticks and lice which are designed to be used monthly and can kill fleas on your dog within 24 hours. Consult with your veterinarian to determine the most appropriate schedule for your dog's specific needs.
What do I do if my dog has fleas?
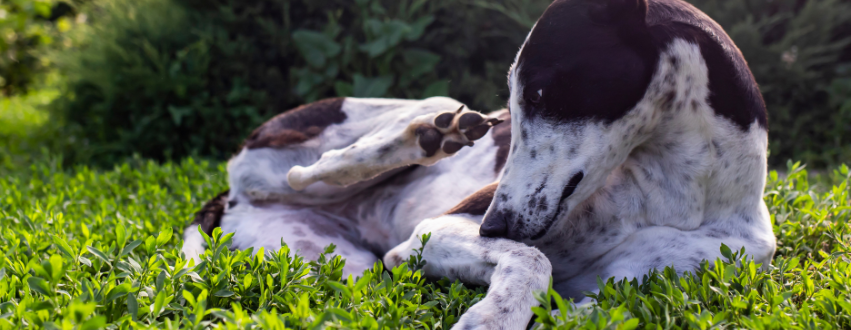
Discovering that your beloved canine companion has fleas can be a cause for concern, but fret not – there are immediate steps you can take to address the situation.
- Firstly, isolate your dog from other pets to prevent the infestation from spreading.
- Next, carefully examine your dog's fur to confirm the presence of fleas and check for any signs of skin irritation or flea dirt (small black specks resembling ground pepper). You can use a flea comb to help brush out the fleas from their coat
- Reach out to your veterinarian for expert guidance on the most suitable flea treatment for your dog's specific needs. They may recommend spot-on treatments, oral medications, shampoos, or other solutions based on the severity of the infestation.
- Remember to treat your home and outdoor areas as well to prevent reinfestation. We recommend thoroughly vacuuming all of your home, including soft furnishing. Follow this up by using an insecticide spray to help eliminate any fleas that may have made their way onto your soft furnishings.
- You will also need to check and treat any other pets in your home to make sure they’re not infested, your vet can also advise on the best course of action for making sure they are flea free!
How to get rid of fleas on dogs naturally?
If you prefer a more natural approach to flea control, several home remedies can help. Some effective options include:
- Apple cider vinegar: Mixing equal parts of apple cider vinegar and water to create a solution for a final rinse after bathing your dog.
- Lemon spray: Boiling sliced lemons in water, letting it cool, and then using it as a spray on your dog's coat.
- Diatomaceous earth: Applying food-grade diatomaceous earth to your dog's fur can dehydrate and kill fleas.
Remember that while natural remedies can be helpful, they may not be as potent as commercial flea treatments, especially in severe infestations.
Do flea collars work on dogs?
Flea collars are another option for flea prevention and treatment. They release active ingredients that repel and kill fleas on contact. However, their effectiveness can vary depending on the brand and type of collar. Some dogs may also be sensitive to the collar's chemicals, so it's essential to monitor your pet for any adverse reactions.
Are flea collars safe for pregnant dogs?
When dealing with flea infestations in pregnant dogs, it's essential to use caution with any treatments, including flea collars. Some flea collars are specifically formulated to be safe for pregnant dogs, but it's crucial to consult your veterinarian before using any product. Your vet can recommend the safest and most suitable option for your dog's specific situation.
Conclusion:
Dealing with fleas on your dog requires a proactive approach to ensure your pet's comfort and prevent infestations in your home. Identifying fleas, understanding their lifecycle, and using effective treatments are essential steps in the battle against these tiny pests. Whether you choose commercial products or natural remedies, always prioritise your dog's safety and consult your veterinarian for personalised advice. With proper care and consistent effort, you can successfully rid your dog of fleas and keep them happy and healthy.