


For those of you aware of Pavlov’s dog, you can understand why classical conditioning is an effective training mechanism. Replace Pavlov’s bell with a clicker and use dog treats as a reward for good behaviour and you’re left with the premise of clicker training.
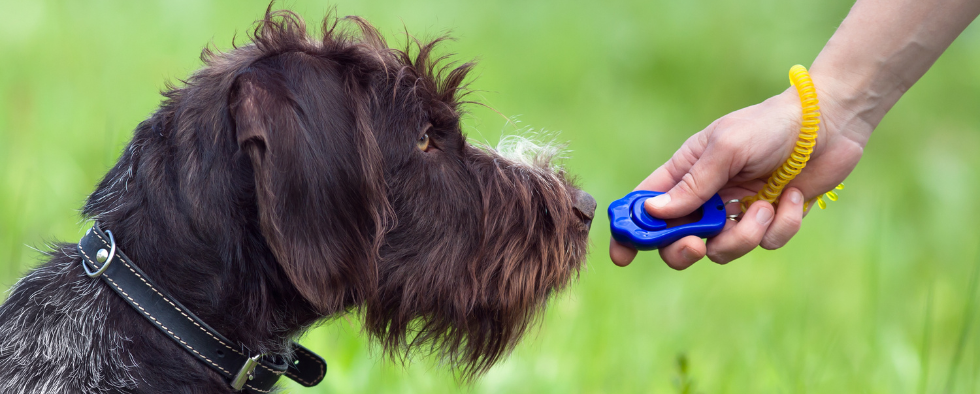
Clicker training is a reward-based training method in which a clicker notifies your dog that they have done the right thing. A clicker is a small device that makes a distinct clicking sound. This device is used to form an association with a reward, such as a dog treat or a toy - Police scent dogs will often work for a tennis ball. Whereas at first a reward is always given after a click, over time your dog will eventually begin to interpret the click as a reward in itself for showing positive behaviour.
While many people question why they should use a clicker at all instead of a reward, a clicker lets your dog know exactly when they’ve shown the right behaviour, helping them to learn at a faster rate than more traditional training methods.
For instance, when you reward your dog with a treat for responding to a sitting command, they have done other things such as stand up by the time they receive their treat. As a result, they can get confused, as they may have misinterpreted the reward for standing instead of sitting. The sound of a click should be implemented while your dog is showing good behaviour, not afterwards. Unlike the traditional method mentioned above, a clicker can mark the exact moment your pet has responded correctly to a command.
When To Start Clicker Training A Puppy
You can start to train your puppy as early as eight weeks, however, you should note that the time it takes to train your puppy could depend on their age, temperament, gender and breed. It’s important to not get frustrated if your puppy isn’t learning the commands as quickly as you hoped, for it’s all about repetition and patience. Rely on the positive reinforcement of the clicker and treat and eventually, your puppy will begin to pick things up.
How To Start Clicker Training A Puppy
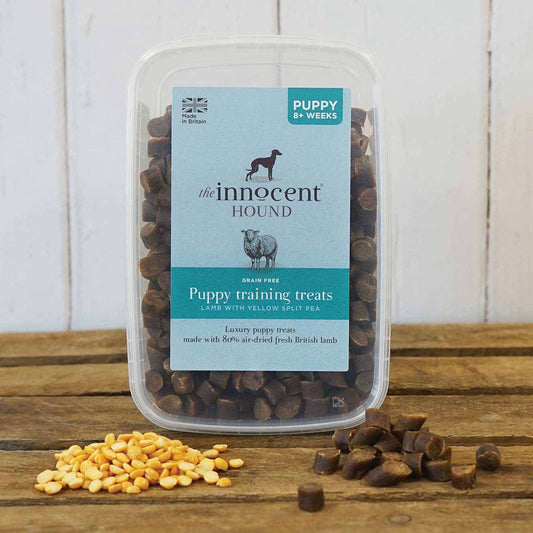
Remember that when it comes to clicker training, timing is everything - click at the exact moment your dog responds correctly to your demand. Also, if the treat you are offering is food, you should cut down the amount of food they consume daily so that they don’t put on weight, you can even use some of their dry food to help them with their training. With that in mind, implement the following steps to clicker-train your puppy:
- Before starting the training process, you need to teach your dog that the click means a reward. Simply take your dog somewhere quiet (without any distractions), press down the clicker just once and give them a reward immediately after. Do not click if your dog is showing discouraging behaviour. Repeat this process for a few days, in bouts of around two minutes a few times throughout the day. Continue this step until they look at you as if to expect a reward immediately after you click, now you can start to teach them new tricks!
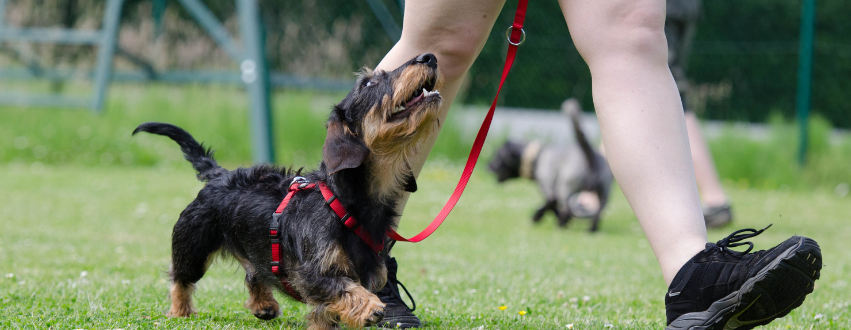
- Once your dog has associated a click with a reward, you can move on to some basic training. Start with a simple command like sitting down. Hold the thing that motivates your four-legged friend, whether that’s a treat or dog toy, and move it back over your dog’s head slowly. This method is called lying and should make your dog sit back instinctively. Press your clicker as soon as their bottom touches the floor so they become aware of the command they are being rewarded for. Give them their reward immediately after the click.
- Once you have succeeded in luring your dog to sit down, add the word ‘sit’ and continue the training with a reward. Each time you lure your dog, say ‘sit’ in a loud but affirmative tone and as you did in Step Two, click and give your dog their treat as soon as their bottom touches the floor. After you have practised this a few times throughout the day, try and command them by saying ‘sit’ without the lure and see if they have learnt the association.
- Continue doing these exercises in short bursts of up to 10 minutes, although younger puppies may need shorter training sessions. Eventually, your dog will learn to automatically sit when they hear the ‘sit’ command. Once you are confident your dog has learnt to sit properly, start to reduce the number of times you reward your dog with a treat after the click. By now, the click will have become a reward in itself and you won’t need to acknowledge their good behaviour with a treat every time. There you have it - the simple process of click training.
Top Clicker Training Tips
- Timing is key! - Make sure to click as soon as your dog performs the command so they associate the click with what they've just done
- Reward every time - when they first start training rewarding every time is key, as they get more advanced you can begin to gamble with treats but to start with consistency is key. Studies have shown the key difference between professional dog trainers and your average pet owners is the number of treats and rewards, professional dog trainers tend to give their dogs many more treats when practising commands with them.
- Word Association - Saying 'sit' or 'down' won't mean anything to your dog to start with, it will take them time to begin associating the words with the action
- Keep the treats small - treats are great but you don't want your dog to put on loads of weight either, reducing their food intake or using their dry food as a treat is a great way to reward them and keep their calorie intake down
- End on a positive note - to keep training fun for both you and your pet make sure to end every session on a positive so even if they haven't quite gotten the hang of everything you've done that day they still go away feeling happy
- Phase the treats out - once your pup has mastered a trick start slowly phasing the treats out, they will begin to associate the sound of the click as a reward and won't need the treat every time
How Does Clicker Training Help?
Teaching your dog to sit using a clicker is just one example of a command they can learn. There are other behaviours that can be taught with this method and many other training accessories available for your puppy. However, teach your dog only one or two commands at a time and don’t move on until they are fully confident with them. Other examples include:
- Look - training your dog to look at you.
- Stay - asking your dog to stay in the same place without moving.
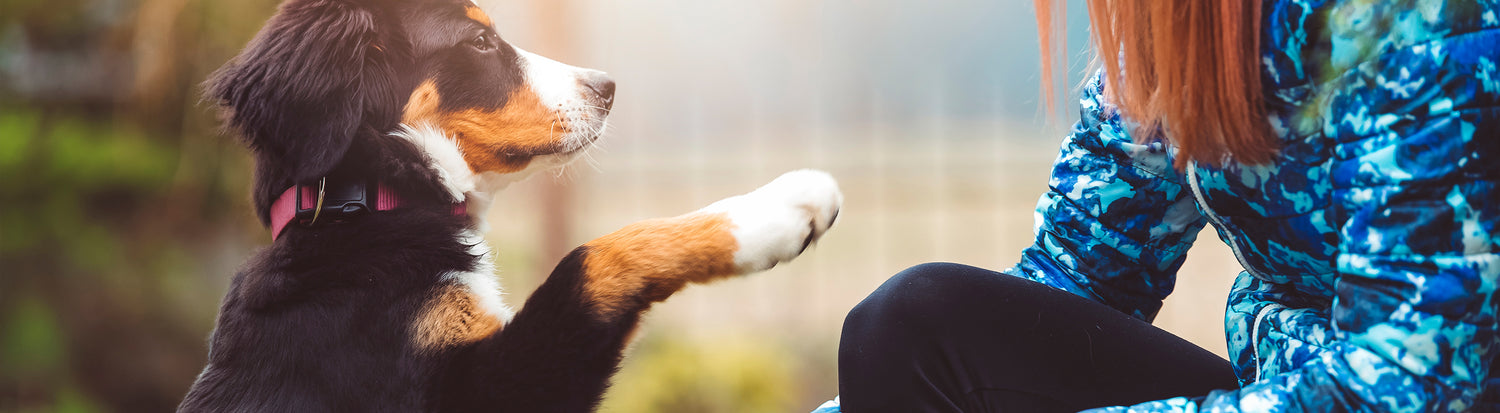
- Paw - opening your hand and ask your dog to place his paw in it.
- Lie down - luring your pet into a lying position.
- Roll over - encouraging your dog to roll over from a lying position
- Drop - getting your dog to drop something from its mouth.
- Leave it - getting your dog to move away from something they're about to pick up
- Bed - getting your dog on their bed
- Heel - getting your dog to walk in line with your heel
Clicker training provides an easy and efficient way to reward positive behaviours in your dog. Keep in mind that it will take time and keep the sessions short so that it’s an enjoyable experience for both you and your pet.